A fresh coat of paint is one of the most transformative and cost-effective home improvements available, but the difference between a professional-looking result and a disappointing one almost always comes down to preparation and technique. Whether you’re refreshing a single room or repainting the entire interior, the right painting tips make the process faster, cleaner, and far more satisfying.
Painting Tips For Proper Preparation
Ask any professional painter what separates a great paint job from a mediocre one, and the answer is almost always the same: preparation. Painting over dirty, damaged, or poorly prepped surfaces is the most common reason DIY paint jobs look amateur despite good intentions and quality paint. Before opening a single can, take the time to do the prep work properly. Clean walls thoroughly before painting. Dust, grease, and grime prevent paint from bonding correctly to the surface and lead to peeling or uneven coverage down the line. A simple wipe-down with a damp cloth handles most rooms, while kitchens and bathrooms benefit from a degreasing cleaner. Fill any holes, dents, or cracks with spackling compound, allow it to dry completely, and sand it smooth before painting.
Tape off trim, baseboards, window frames, and ceiling edges with painter’s tape and protect floors and furniture with drop cloths. Taking 30 minutes to tape properly saves significant time cleaning up mistakes and produces the crisp, sharp edges that make a paint job look truly finished.
Painting Tips for Choosing the Right Paint and Tools
Not all paint is created equal, and choosing the right product for each surface makes a meaningful difference in both appearance and durability. For most interior walls, a quality latex paint in eggshell or satin finish strikes the best balance, more durable and easier to clean than flat paint while still hiding imperfections better than semi-gloss. Kitchens and bathrooms benefit from semi-gloss or satin finishes that withstand moisture and frequent cleaning. Flat or matte finish works well for ceilings and low-traffic areas where durability is less of a concern.
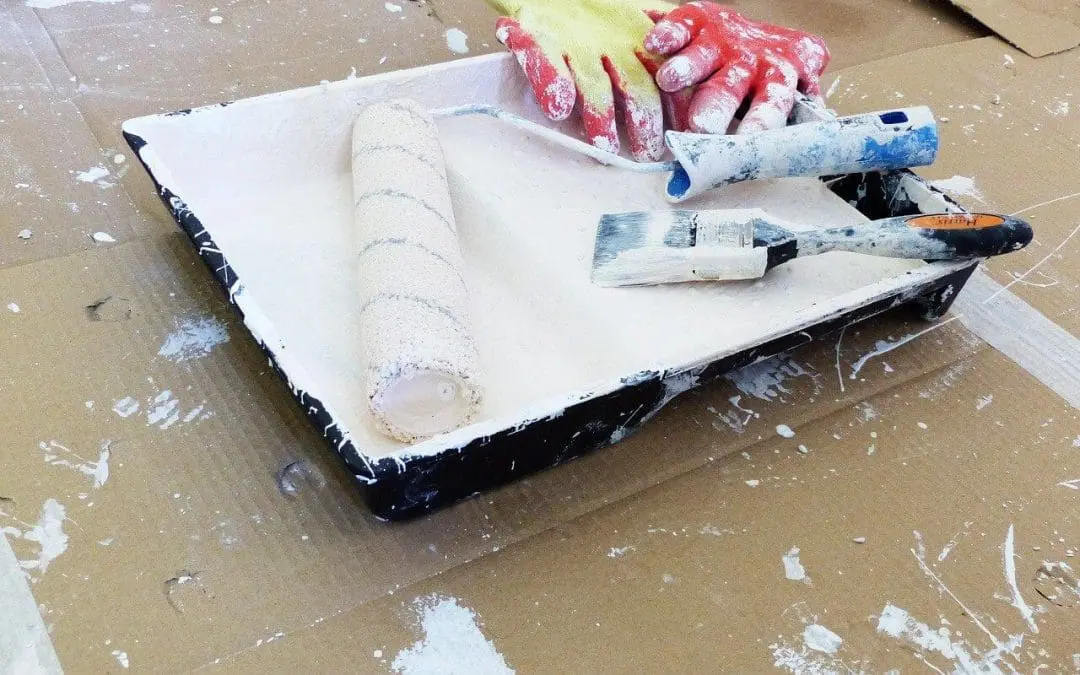
Invest in quality brushes and rollers, this is one of the most impactful painting tips you’ll hear and one of the most frequently ignored. Cheap brushes leave bristles in the paint, create streaky coverage, and make cutting in around edges significantly harder than it needs to be. A high-quality angled brush and a 3/8 inch nap roller cover for standard walls produce noticeably smoother, more even results and are worth every extra dollar spent.
Technique-Based Painting Tips for a Professional Finish
Good lighting is one of the most overlooked painting tips. Set up a work light or use a raking light to check for missed spots, thin coverage, and texture inconsistencies as you go, rather than discovering them after everything has dried. Technique matters as much as preparation and materials. Always start by cutting in, using a brush to paint a band of color two to three inches wide along all edges, corners, ceiling lines, and trim before rolling the larger wall surfaces. Cutting in first creates clean edges that the roller can then blend into seamlessly while the paint is still wet, which prevents the visible lines that result from cutting in over dried paint.
When rolling, use a consistent W or M-shaped pattern to distribute paint evenly across the wall surface before filling in the pattern with vertical strokes. Apply light, even pressure, and avoid overworking areas that are beginning to dry. Going back over drying paint causes streaking and uneven texture. Two thin coats always produce a better result than one thick coat. Allow the first coat to dry completely before applying the second. Remove painter’s tape while the paint is still slightly tacky rather than waiting for it to fully dry. Pulling tape off fully dried paint may tear the fresh surface and create ragged edges.
Frequently Asked Questions (FAQs)
What are the most important painting tips for a first-time DIY painter?
Preparation is everything. Invest in quality brushes and rollers, cut in before rolling, apply two thin coats rather than one thick one, and remove tape while the paint is still slightly tacky.
What type of paint finish is best for interior walls?
Eggshell and satin finishes work best for most interior walls; they’re more durable and easier to clean than flat paint while still providing good coverage and a pleasing appearance. Semi-gloss is the best choice for kitchens, bathrooms, and trim. Reserve flat or matte finishes for ceilings and low-traffic areas.
How long should I wait between coats of paint?
Most latex interior paints are ready for a second coat in two to four hours under normal temperature and humidity conditions. Always check the manufacturer’s recommendation on the specific paint you’re using.
Do I need to prime before painting interior walls?
Priming is necessary when painting over a significantly darker color, painting new drywall, covering stains or water damage, or switching from oil-based to latex paint.
How do I get clean, sharp edges when painting?
Quality painter’s tape applied carefully along all edges is the foundation of clean lines. Cut in with a good angled brush, and remove the tape while the paint is still slightly tacky by pulling it back at a 45-degree angle.
Jones & Cooper Home Inspections provides home inspections to customers in the Metro Louisville area. Contact us to request our services.